Introduction
The environment test is a crucial step in the assessment process, ensuring that all candidates have a fair and distraction-free opportunity to demonstrate their skills. This guide provides a step-by-step walkthrough on how to complete the environment test properly.
Step 1: Start the Test
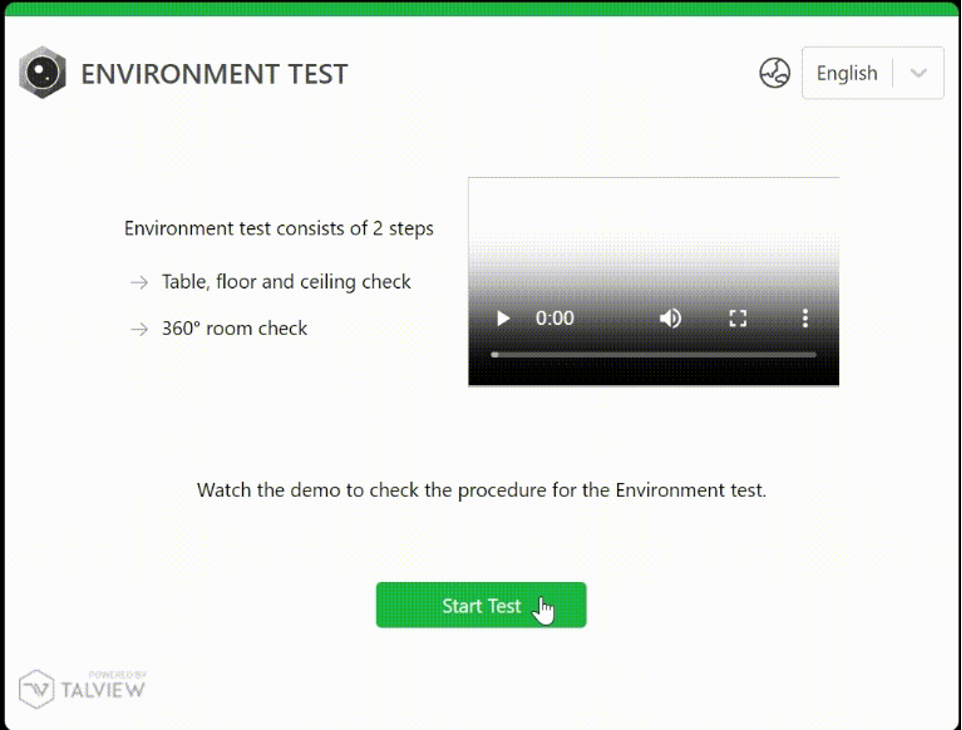
Access the Environment Test Screen: Once you reach the screen for the environment test, you'll have one minute to record your surroundings.
Click on "Start Test": Begin the test by selecting the "Start Test" option.

Step 2: View Demo Instructions
Click on "View Demo": This demo provides essential instructions and best practices for recording your environment.
Review the Demo Carefully: Make sure you understand what needs to be captured in your recording for compliance.

Step 3: Start Recording
Click on "Start Recording": This will initiate the video recording process.
Record Required Areas:
Capture your entire worktable.
Show the ceiling and floor of the room.
Maintain Visibility: Ensure all areas are clearly visible with adequate lighting to ensure that the recording meets visibility standards.

Step 4: Stop Recording
Click on "Stop Recording": Once you have captured all required areas, click this option to finish the recording process.

Step 5: Review Your Video
Take a Moment to Review: Watch your recorded video carefully to confirm that all required sections of your environment are clearly shown and meet the quality guidelines.
Step 6: Submit or Retake
If Satisfied:
Click "Submit": If you are happy with your recording, click the "Submit" button to complete the process.
If Not Satisfied:
Click "Retake": If the recording does not meet the necessary standards, select "Retake" to redo the video.

Additional Tips
Ensure a Quiet Environment: Record in a quiet and distraction-free space.
Check Lighting and Camera Quality: Use a well-lit area, and ensure your camera is clean and functioning properly.
Follow Guidelines Precisely: Adhere to the demo instructions closely to ensure your recording is compliant.